How to Setup a TV Station with our RTMP Control Panel
First how the TV Station works
- you upload your videos in mp4 (make sure your videos have the correct bitrate depending on your package).
- create playlists and schedule the time when to, for example playlist1 starts on Monday at a certain time and ends on Tuesday at a certain time, playlist2 starts on Tuesday at x time and ends on z time.
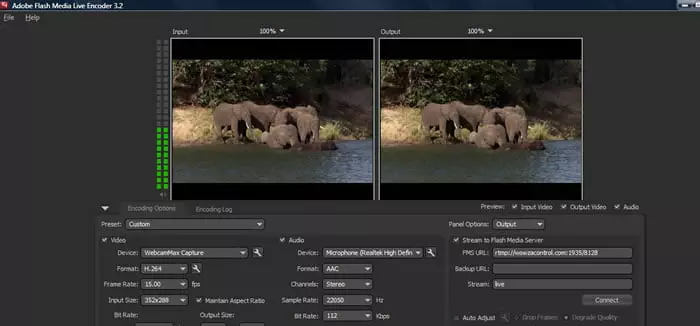
- so now your station is streaming your videos, but at any time, you can go live, just start your encoder like OBS, your server will now will start your live broadcast, when you close the encoder the active playlist goes back to stream your videos.
How to setup the TV Station
The TV Station on our control panel is very easy. After you order, we provide you with a control panel URL, your email as username and a password.
You need to login to this control panel, which we call Wowza control, as our main core on the server is the Wowza streaming engine.
After you login to the Wowza control panel, you will see your services. You can have a number of services, such as live streaming, TV station and so on. Select the service you want to start and click Overview, just under Options. Please see the image with the black arrow.

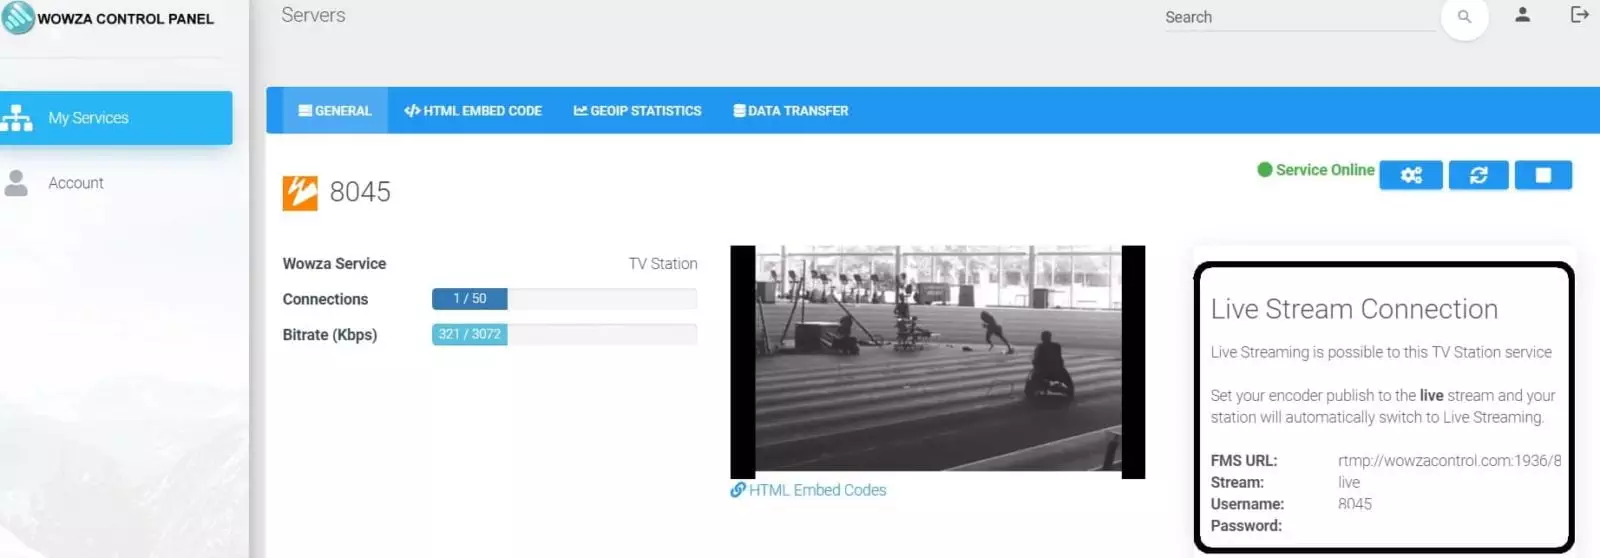
After you click Overview, a TV Station page will open, and you will see a small player. If you click to play, it will show a video file that we use as the default video on the system.
On top there is a menu with some links. One of these is “HTML Embed Code”. On this service, the main player will just show the default video. The other links on the menu on top are Stats, IP and countries where your viewers are located. You don’t need to worry about data transfer if you have ordered one of our bigger packages, which have unlimited traffic.
At the bottom you have two important links, “File Manager” and “TV Station” (see image).

First you need to upload your files. Click “File Manager” and you have 2 options; FTP or just drag and drop the files on the file window with your mouse (see image).

After you upload, be aware that the files must to be in MP4 format, and pay attention to the bitrate. Depending on your package, if the file is over the bitrate allowed, you cannot include it on the playlist.
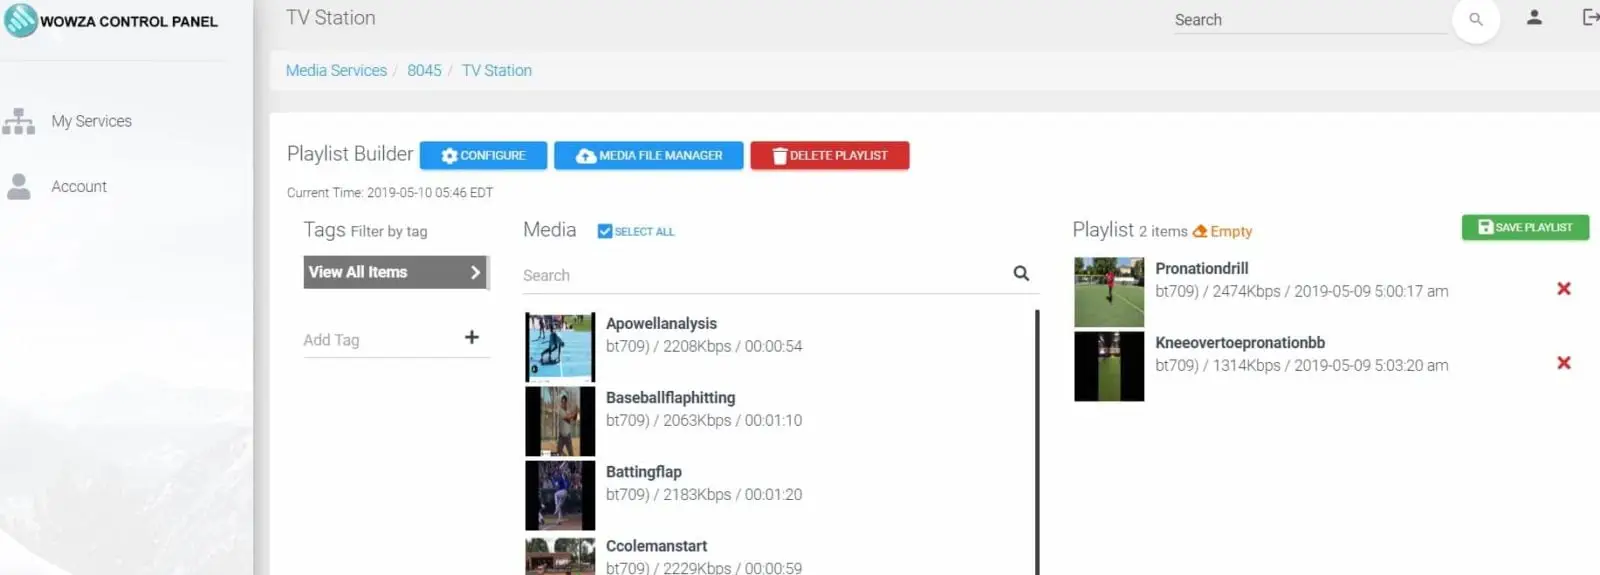
Now go back to your service and click on “TV Station”. You can create a new playlist, or if you already have one, you can manage it.

The difference between a normal playlist and the TV Station playlist is that you enter the start time and the expiration time, and you schedule your playlist so that one after another at different times will be active.
If you change or add a video file, you need to save the playlist and restart the service.

Your playlist is now active and streaming. If you then want to make a live broadcast (see image on the right “Live Streaming Connection”), you can start your encoder; your playlist stops, and your live event is online and broadcasting. Just like a Live streaming service, as soon as it stops the tv station continues with your playlist exactly where it stopped before.


